Visualization of the cervix is an essential part of the cervical cancer screening process. Whether during colposcopy or Visual Inspection with Acetic acid (VIA), the ability to clearly view the cervix is essential to the accurate diagnosis of abnormalities on the cervix.
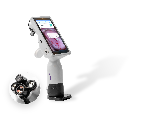
MobileODT’s EVA System digital colposcope is currently in use in 42 countries and in over 50 US healthcare systems. We spoke with Alon Metrikin-Gold, Head of Customer Success at MobileODT to highlight some of the most common issues that clinicians encounter in visualizing the cervix and share solutions to these issues.
Vaginal walls obstruct the view of the cervix
Especially in cases where the patient is overweight or experiencing vaginal atrophy, then lax vaginal walls can obstruct the clinician’s ability to view the entire cervix.
A number of possible solutions exist:
Firstly, try to adjust the speculum to see if repositioning will improve your view.
If the vaginal walls are protruding through the sides of the speculum, you might want to use a vaginal retractor to hold them in place.
However, many women find it uncomfortable to have another instrument inserted into the vaginal canal.
We have some users who overcome this challenge by cutting the tip off of a condom, then placing the resulting sheath over the speculum before insertion, so that once it is inserted the condom holds back the lax vaginal walls without requiring an additional instrument.
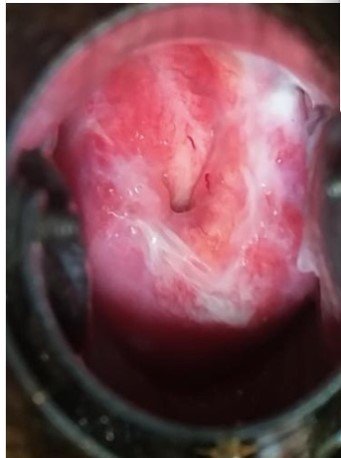
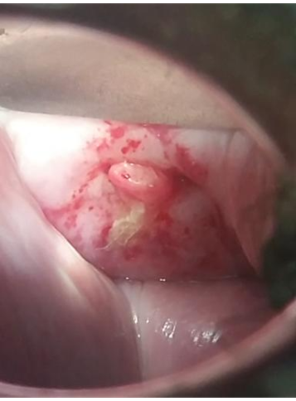
Shadowing in the image
A dark shadow at the bottom of this image is preventing full visualization of the cervix. This is caused by incorrect positioning of the light source, or incorrect angle of the colposcope.
To resolve this issue, reposition your light source to be higher in relation to the vaginal canal.
Your colposcope may also need to be repositioned.
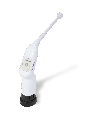
If you are using the EVA System, which includes a built-in light source, then one adjustment will resolve both potential issues.
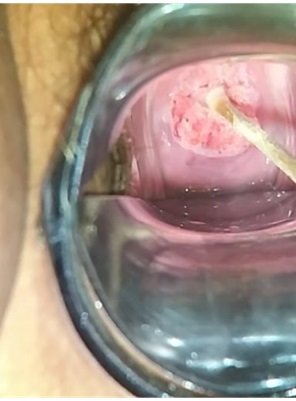
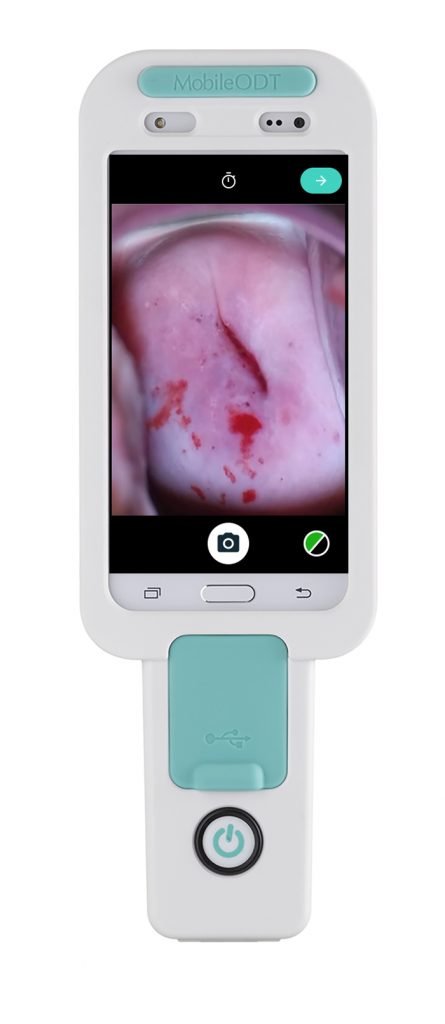
Mucus, blood or other substances on the cervix
A number of substances might accumulate on the cervix, impeding clear visualization.
Excess mucus can be removed with a cotton swab or surgical tongs.
Bleeding can occur either during speculum insertion or as a result of biopsy.
Again a swab can be used to stop the bleeding and remove any blood that has collected on the surface of the cervix.

Speculum obstruction
At times the speculum can prevent a clear view of the cervix. This could occur from a misplaced speculum, in which case repositioning the speculum will allow for full visualization of the cervix.
Often a simple adjustment in the angle of the speculum is sufficient.
Sometimes, if the colposcope is not properly positioned in relation to the cervix, even a correctly placed speculum can cause obstruction of the cervix.
Try adjusting the position of the colposcope to make sure that the cervix is in the center of the image and then zoom in further.

Blurry images
Sometimes images that are captured with a digital colposcope can appear blurry. This is when the entire image appears ‘fuzzy’ and/or the image looks like it has been ‘pulled’ in one particular direction.
This is the result of the colposcope moving during the image capture.
The EVA System includes a handwave image capture feature.
This motion sensor allows you to capture an image of the cervix without touching the device.
Simply move your hand towards the EVA device in a ‘high five’ motion without touching the screen.
Your EVA will then take an image for your records or to share with other parties.
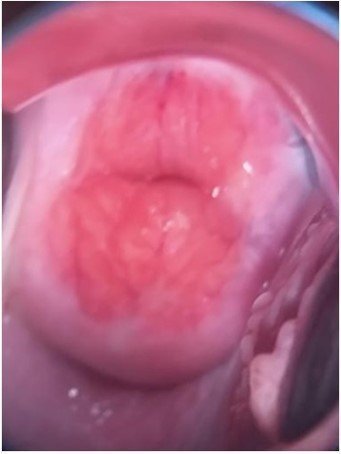
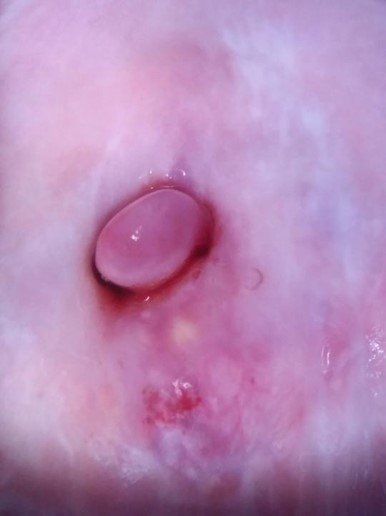
Image is out of focus
It is important to ensure that your colposcope is correctly focused to capture clinically useful images.
An image is out of focus when only part of the image is out of focus or all the image looks pixelated but there isn’t a warping of the image.
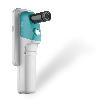
You can easily adjust the focus of your image. When using the EVA device, confirm that the device is positioned within 10 -15.7 inches or 25-40 cm from the cervix.
Once correctly positioned, you can then manually adjust the focus wheel to achieve a sharp image.
Only part of the cervix is in view
Sometimes you might find that your image only shows part of the cervix but you need to see more in order to make an accurate diagnosis.
Try adjusting the position and focus of your colposcope.
This should bring the entire cervix with the os in the center into view.
Acetic acid issues
The timing of acetic acid application and the appropriate amount of time given for all lesions to present themselves is crucial to making an accurate diagnosis.
EVA COLPO is designed for the visualization of the cervix for cervical cancer screening. The incorporated software includes a built-in timer to be used during the visualization of the cervix.
 For primary screeners, you can use the timer to ensure that your exam takes place within the appropriate timeframe and alerts you when it is time to apply more acetic acid.
Simply tap the screen to activate the timer. It will flash green when it is recommended to conduct your evaluation and then count down the remaining time. You will be alerted when the recommended exam time has been exceeded.
For colposcopists, you can use the timer to measure the acetic-acid uptake time.
The EVA System digital colposcope is designed for easy adoption by both expert and less experienced clinicians.
Protocol for capturing images with the EVA System
1. Turn on the light source as well as the device screen.
2. Check the Mobile device’s screen brightness is fully bright
3. Ensure that the fine focus wheel is turned all the way out (clockwise).
4. Position the device in a comfortable working distance for you (the provider).
5. Once the cervix is properly positioned on the screen (you see all the cervix, nothing but the cervix, and it is clean from obstructions, fluids and secretions.
6. Adjust the focus with the fine focus wheel until the image is highly focused.
7. Apply acetic acid and visualize the cervix per your protocol.
8. Use hand-gesture capture to avoid shaking of the device when capturing images.

Our colposcopy experts are always available to support you in your exams to ensure that you are getting all of the clinical information you need to treat your patients.